About Me

My photo
JLynn has been in the Art, Craft & Jewelry industry for over 30 years ~ promoting creativity through Education and Media. As a published designer, JLynn is known for her colorful Art, Artisan Jewelry, Altered ART Wood Tiles. Online since 2004, a former eBay Power Seller, on Etsy, and Amazon. Family, Art, Nature and Kaleidoscopes are some of her inspirations

Saturday, April 16, 2011

Tutorial - Mastering Wire Wrapped Loops


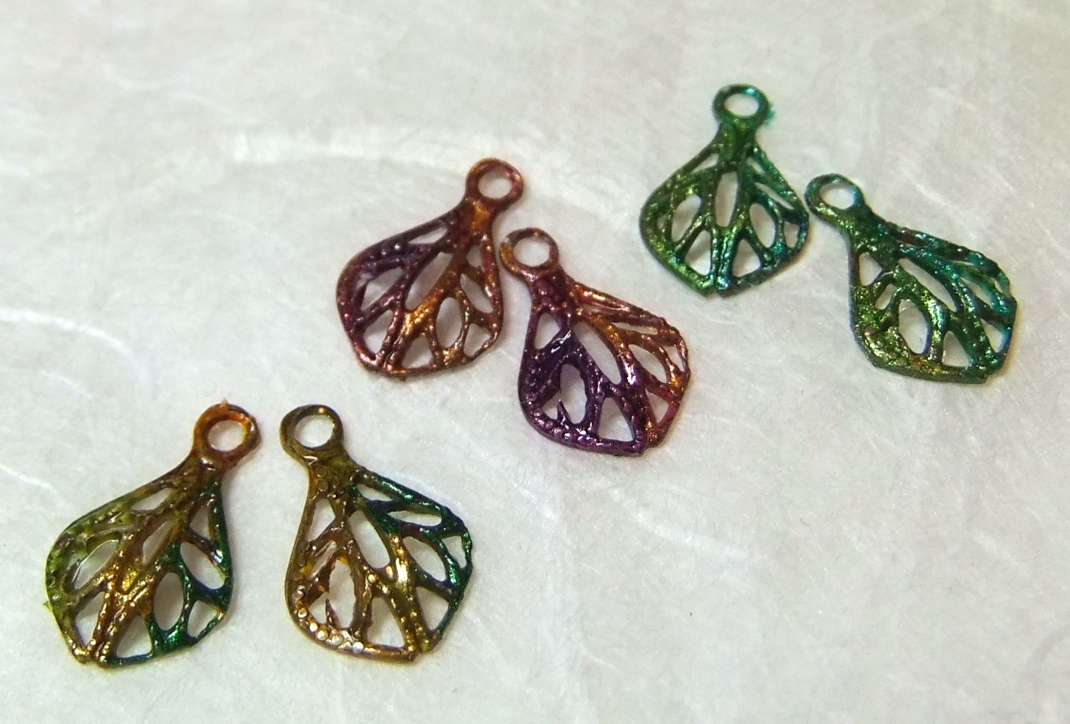
Earthy DROP EARRINGS
GIVE-AWAY - Earrings!
...Become a "follower" of our Blog - and you could win a pair of JLynnJewels earrings.  Winner will be chosen by Random.org on 5/17/11 at 11pm EST
Increase your chances...leave a comment below and you'll be entered twice!

Supplies:
2 - 4mm Bicone Swarovski Crystals (Indian Sapphire shown)
2—3mm Bicone Swarovski Crystals (Black Jet shown)
2—Czech 11x9mm Oval (Wasabi w/Picasso shown)
2—Czech 5x4 Rondelles (Emerald Wasabi shown)
2—Czech 5x6 Rondelles (Blue shown)
2—Fallen Angel 9mm Art Nouveau Bead Caps
4—Fallen Angel Star Flower 5.5mm Bead Caps
2—3” Fallen Angel Brass Headpins
Rosary & Bent Chain-Nose Pliers, Wire Cutters


INSTRUCTIONS:
No matter what level beader you are, this tutorial is geared to take you step-by-step with an easy approach to wire wrapping to give your basic drop earrings a clean, professional, finished look. These earrings are fun to create and can be created in a multitude of color combinations—be creative in your choices and also arranging your stack.


  1. Begin by stacking beads on Head pins.  Grasp the head pin just above beads with the tips of your rosary pliers. Gently bend the wire over the top of the pliers (pushing down and away from you) to make a 90 degree angle (side view shown). Note...The size of the top loop/circle is determined by the wire placement on the rosary pliers. To ensure your earrings have the same size top loop, be consistent with wire placement (tip...beginners can mark their pliers with a sharpie to line up their wire).
  2. Rotate your pliers a 1/4 turn to the top of wire (side view shown).
  3. Without shifting your pliers, shape the wire up and over the pliers ending with the wire pointing down.
  4. Reposition your pliers so they are in the opening, then shape the wire to complete a circle (which will be off-center until you complete the next step).

  5. Without releasing your grip on the pliers, rotate/turn your circle so that it is centered over the headpin and the end of the wire is angled up.   
  6. Press down on the end of the wire so that you once again have a 90 degree angle and perfect circle. (tip...create your 2nd earring and compare loop sizes prior to completing the finishing details).
  7. Place your Rosary pliers vertically across the top of your circle. Take your bent chain-nose pliers and grasp the tip of the wire then cross over the center of the headpin staying parallel to your rosary pliers.
  8. Continue winding the wire around the head pin taking the time and care to keep coils tight and precisely next to one another (reposition your bent chain-nose pliers after each side to side pass).
  9. Using a pair of side cutters, clip the excess wire on an angle (this will ensure you have a professional looking end).
  10. Using your Bent chain-nose pliers, press and tuck the end of the wire next to the last coil so there are no sharp edges. Open your ear wire sideways and slip on the stacked drop, then move the ear wire back in place


Designer variations...try any style oval bead, and coordinate your Czech Glass rondelles and Swarovski Crystals with them.. This particular style is shown with Fallen Angel Black Brass—but you can also create a similar design with Sterling Silver or Vintaj Brass Metal.

Note:  All images, jpgs, jewelry design, text are the property of JLYNNJEWELS and copyrighted/monitored. You are free to use this tutorial for your own personal use but it cannot be copied and redistributed without the consent of JLynnJewels in any form.

ENJOY!
Compliments of Janice Everett at:
http://www.JLynnJewels.com
http://www.artfire.com/users/JLynnJewels
http://www.Etsy.com/shop/JLynnJewels

Friday, April 8, 2011

DECOUPAGE DIY Tutorial Project & COLOR Intro

Good Morning...taking a few moments in between writing up instructions for magazines and jewelry designing - to post a couple things here.  Time is flying...!  Above are my own original Watercolors in miniature ART tiles (I scanned my original art pieces and worked hard cropping a variety of sections to create these tiny little masterpieces of art to utilize in jewelry making and other craft projects - another item in my NEW "Altered ART collection").  I have to say it's always a little nerveracking to put yourself out there in such a personal manner because "ART" is so subjective to opinions.  So I've been overwhelmed in a good way with all the positive responses I've been receiving and plan to share more of my Watercolor art with you - maybe even in digital format :).  I LOVE COLOR...can you tell?

Currently I'm working hard to get more DIY decorating and craft tips up here on the Blog - as well as on my Facebook Business Page..and my website.  In my "former" Corporate life - I worked Education, Marketing and Public Relations for Jo-Ann etc. (when they first rolled out the super stores in the late 90s).  Long story short - I had an amazing job, super people that I worked with - and was  paid to teach, share, demonstrate and promote all things that I love.  I write this with a smile on my face because they were magical times - and I was involved with the community, churches, schools, and a lot of businesses and groups that loved me in return.  I also had the pleasure of attending many events like the CHA conference in Chicago and was a regular on a local TV show in Nashville called the "Talk of the Town".  So...I don't think there is anything I haven't tried...and if I find I haven't, I soon will LOL - it's an addiction...anyone else have troubles with this type of addiction??  We can start our own little Support Group right here on my blog :)

DECOUPAGE...is a very OLD art that actually started in the 12th century (in China)...and then became extremely popular in the 17-18th Century Victorian times where they cut out a lot of delicate shapes and patterns and applied them to furniture and other decorative pieces.  The ebb of crafts comes and goes - and in my years (I'll be 48 this summer...) it's really impressive to see how fashion, colors, trends, and crafts make their rounds...again and again.

When I was a little girl...I remember "decoupaging" all sorts of things on bottle caps, glass bottles (even Milk bottles and mason jars - LOL) - and lots of wood pieces including popsicle sticks.  We'd use images from magazines or things we painted.  Elmers Glue was HUGE...!  But wow how the Art & Craft Companies improved things...and "evolved".  It makes your head spin - and what I like is that it never stops...there is always something new or something re-invented or re-visited that makes things easier - in addition to basically guaranteeing a successful outcome to your creative project.

My fascination with decoupage continued into my adult life...and when I was first married and starting out in my own place - I collected decorating magazines and did multiple "collages" on regular xerox paper and compiled them in a 3 ring binder.  I did this for decorating, floral arrangements (yes I do florals - live & silk) AND outdoor landscaping.  And yes...I still have the binders and still add "favorites"  - it's a nice thing to refer to or simply look at to get inspired.

SO...
If you are contemplating decoupage - go to your local craft store and purchase some simple things...a paper mache piece (could be a trinket box), some craft paint, Mod Podge Satin or Glossy, a sea sponge and some Foamy brushes.  That's it - low cost & reasonable.  You can purchase paper cut-outs at the store or use Greeting Cards, magazine cut-outs...but I really encourage you to take a little extra time and browse through the images available on http://www.etsy.com/ - simply do a search on "Digital Images" and you'll be amazed at what you'll find - if you like Roses - do a search on Rose Digital Images...  I've purchased 3x5 digital artwork to use in frames around the house...like this:


The nice thing is that they can be printed at home whenever and for whatever you want...maybe to decoupage a garbage basket...light cover...votive holder...cabinet...lampshade?
Mod Podge can be purchased in individual bottles or this nifty Starter pack (LOVE this)

DIY Decoupage Project:
Base Coat your Paper Mache piece using a foamy brush and Acrylic paint (Cream or White) - allow to dry.  Dampen your sea sponge and wring out - and on a piece of waxpaper, place another color of Acrylic paint.  Dab/pounce your sponge in it - then on a scrap paper pounce up and down so that the excess paint is blended into the sponge.  Now do the same pouncing motion on your paper mache piece.  Reload your sponge as needed (and make sure that you keep it damp so that the paint flows and blends) and complete sponging your entire surface - allow to dry.
  • Cut out your digital images with a sharp pair of scissors. Arrange your cutouts on the table to your satisfaction and take a digital photo you can refer to (if using multiple smaller pieces).
  • Since we are keeping things simple - we are going to use the same Mod Podge (e.g. Gloss) for attaching our images AND varnishing.  Using your foam brush - apply a coat to the backside of your cutout and place on your paper mache piece.  Use your fingers to press from the center outward so that your image is flat with no wrinkles or bumps due to excess glue.  More than likely you will have a little bit of Mod Podge around the edges - use your finger to blend in.  Complete applying all your paper cut-outs.  Allow to dry.  TIP:  Do not touch the surface of the paper too much with your fingers as you could remove the top layer of print - if you feel you must touch it, apply a thin coat of modge podge over the top once it's attached to your paper mache piece.
  • All that's left now is to seal and varnish it with Mod Podge.  That's right... we're keeping things simple.  Using your Foam brush...apply a medium even coat across the entire surface - taking care with your strokes (all in the same direction).  Once the top portion is dry - repeat for any lower sections.  If you'd like a more glossier look - apply another coat of Modge Podge.  TIP:  If your project has multiple paper images or a collage style...I like applying 2-3 coats of Glossy Mod Podge so that the pieces don't look like they've been cut-out and simply "glued" on.
  • Now - if you'd like to further embellish your paper mache "Box"...you can add ribbons, trims - and yes even my Altered Art Wood pieces or Vintaj Brass charms or Tags - check out my Artfire or Etsy Stores at JLynnJewels (see right side bar picture windows).


INTRO to COLOR:
If you don't have yourself one of these wheels - get yourself one!  They are just fun to play around with, and get inspired with warm and cool colors - as well as, getting familiar with Hues...Tints...Tones and Shades.  There are Primary Colors (Red, Yellow & Blue)...Secondary Colors (which is a combination of two Primary colors which create an Orange, Green or Violet).  Then you can get tricky...with Tertiary color combinations (and that's one Primary and one Secondary mixed together)....and if that sounds way too complicated for your liking - you can buy them premixed LOL!

Actually my favorite part on the wheel is shown in the picture above - you can move the wheel around to get a variety of unusual color combinations to play with.  If you look at the center you'll see that I have a Blue Green, Red Violet and Yellow Orange combination.  It just so happens that the Color Combo Group (on Facebook) that I participate in has similar colors for the challenge this week!  So I'll be creating some jewelry or painting something with this "Triad" of colors (Teal, Purple & Gold).  You can see some of my past jewelry designs created for this challenge in my JLYNN JEWELS COLOR COMBO CHALLENGE photo album

Well - that's it for today - look for more Tutorials, projects and DIY tips throughout the month.  Invite your friends - we're growing and would love to hear your thoughts, suggestions - and of course if you have any questions concerning decorating, jewelry, arts & crafts - don't be shy!  AND...if you haven't visited my Facebook Business page - come on over at J-Lynn Jewels - favorite us by pressing the "like" button and you'll be eligible for different give-aways (in March we gave away 4 pair of Custom Earrings).  Keep in touch and make sure to leave any comments/questions by clicking on the "comment" link below.

Happy TGIF and hope you all have a wonderful weekend!
~J-Lynn


Friday, April 1, 2011

Faux Painting on Brass Filigree Tutorial - YES you can!

Gorgeous Halo Pink/Violet/Gold Vintaj Brass Filigree
and
Fun Alcohol Ink Color Mixed Vintaj  Brass Teardrops
DIY Tutorial in 4 easy steps!

Today I'm going to share a little J-LYNN DIY Recipe with you...Faux Painting on Vintaj Brass Filigree pieces.  Here's the supply list:

SUPPLIES:
Brass Filigree pieces of your choice (examples shown are Vintaj Natural Brass Co.)
Acrylic Paint in White, Off-White, or Cream
Tim Holtz Adirondack Bright Alcohol Inks (your color choices)
Tim Holtz Adirondack Alcohol Blending Solution (for lightening ink colors and cleaning)
Lumiere Light Body Metallic Acrylic Paints (your color choices)
Script Liner Brush
Stencil Brush
foam dabbers
Varnish (your choice of finish...matte, satin or gloss)
Sponge Brush (for Varnishing)
Papertowels
Gloves
Waxpaper
Posterboard (for practicing)


Step 1:  Preparing the base surface on the Brass Filigree
Line your painting surface with waxpaper (best so your filigree doesn't stick or pick up pieces of newsprint).  Apply White or Cream Acrylic Base to the filigree pieces (front & back) with a Stencil Brush and using a pouncing technique (load brush, swirl around, then apply to filigree in an up & down patting motion).  Blot off excess paint with paper towel and allow to dry (~5-10 minutes).  If you would like a brighter look, apply a second coat.  Using a stencil brush versus a sponge or foam piece gives your piece more dimension because the paint will be stippled in between the filigree details.  Note:  If you are using antiqued pieces, they should be cleaned in warm, soapy water and allowed to dry (or use a brass cleaning polish such as MAAS) to remove any built up dirt or oils that have accumulated over the years.


Looking for a Shabby Chic look?  Look for our next tutorial on Antiquing & Crackling!


Step 2 - Adding base color to Teardrops & Chandelier Filigrees with either Adirondack Ink or Lumiere Metallic paint
Teardrops:  We used Adirondack Ranger Ink - apply ink to both sides of your Filigrees with a paint dabber, sponge or regular paint brush and dry.  Use one color as shown in the bottom two examples (purple and olive)...or use a combination of two color inks as shown in the top (green/gold).  In this example we used the ink straight from the bottle - however, if you would like to lighten the ink tones, mix a bit of Alcohol Blending Solution with your ink before applying.  Filigrees will have a somewhat "dark" appearance until we add the Lumiere highlights in Step 3. 
Teardrops shown with undiluted Adirondack Alcohol Ink

NOTE:  For Chandelier Filigree...we applied a base coat of Lumiere Metallic Acrylic paint to both sides.


Step 3 - Highlighting your Filigree pieces with Lumiere Metallic paints
In this example we used Halo Pink-Gold for our base, then using our Script Liner Paint Brush, and added touches of Halo Violet-Gold & Metallic Gold.  It's important to start with a damp paintbrush and only pick up a small amount of paint on the tip of your script liner.  Feather stroke the areas you'd like to highlight on the Filigree - using a very light hand (this is where practicing on a posterboard comes in handy - Feather strokes are like a barely touching sweep across the surface of the Filigree). 
Chandelier elements being highlighted with Script Liner and
Lumiere Metallic Gold (Halo Violet-Gold already applied)

Both Chandelier & Teardrops drying after being highlighted with Lumiere Metallic paints


Step 4 - Finishing Steps
It's best to seal your Filigree and give it a durable, protective finish.  Using a Wedge Foam Brush, load it with Interior Varnish (we used Gloss) and apply with long strokes across the Filigree surface.  Let dry approximately 10 minutes and add a second coat if desired.  We also varnish the back side as well.  Remove any bubbles or excess varnish in between filigree with your script liner brush.  Clean-up:  Acrylic paints are waterbased and will clean up warm soapy water or simply warm water.  Alcohol Inks should be cleaned using the Ranger Ink Alcohol Blending Solution and then warm, soapy water.
Closeup:  Teardrops  and Chandeliers highlighted with Lumiere Metallic paints
 and then finished with Glossy Varnish - VIBRANT and FUN!
 
Oh so CHIC and Beautiful...read to create into fabulous earrings, pendants
or possibly to decorate a lampshade of other home decor project.

Suppliers:
Your local craft stores should carry most supplies (Jo-Ann's, Michael's, Hobby Lobby, AC Moore).  Look for the economical 3-pack of Ranger Ink at Jo-Ann's.  For Vintaj Brass and other finished ART pieces, we hope you will consider shopping with us at our Etsy Supply store.  For Lumiere paints...try Stampington Company - it's one of my favorites for a lot of different craft items.  They carry Lumiere Metallic Paints (by Jacquard Products) and it's available in a variety pack for $14.95 - here's the product link:   http://www.stampington.com/html/lumiere_acrylic_paints.html

Vintaj Natural Brass Co. has an awesome website and blog - please take the time to check their products and idea gallery!

JLynnJewelrySupplies on Etsy:   http://www.etsy.com/people/JLynnJewelrySupplies 
(store link in right column too).  Here you will find quality jewelry supplies and our handcrafted ART accent design pieces:

If you don't see what you're looking for in Filigrees or any Vintaj natural Brass supplies, just convo us and we'd be happy to do a special order for you...we are a retail supplier of Vintaj products and are constantly updating the store with new products.

WE HOPE you enjoyed this J-Lynn DIY Recipe Tutorial for Faux Painting on Vintaj Brass Filigree pieces! 

LOOK for additional tutorials soon...if you have a special request, question, or product inquiry, please feel free to get contact us - we love to share and inspire you :)